Setting up your own RustDesk (Community Version) using Docker seems to be simple. But what i did not found was a HowTo do this using a VServer that is running Plesk. Some things should be easier / using more automation than doing everything manually.
So here is my HowTo do this.
Add a new Subdomain
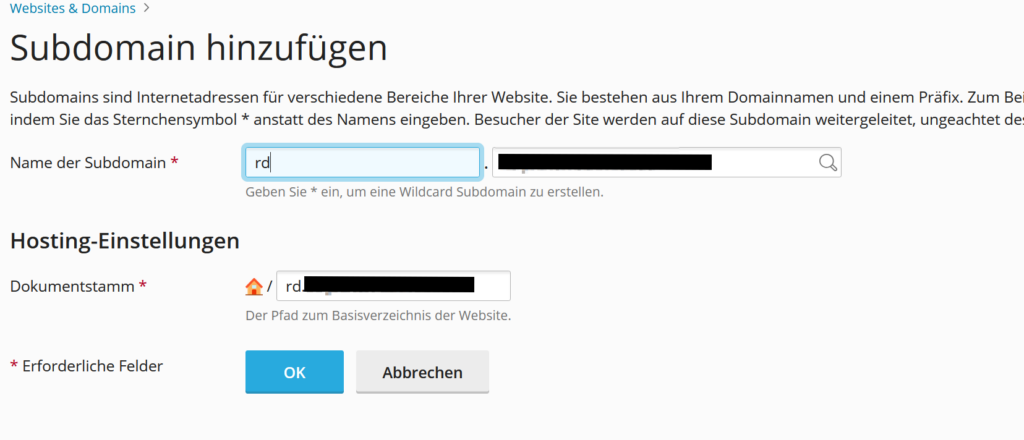
Login to your Plesk and add a new Subodmain like rustdesk.my.domain or rd.my.domain.

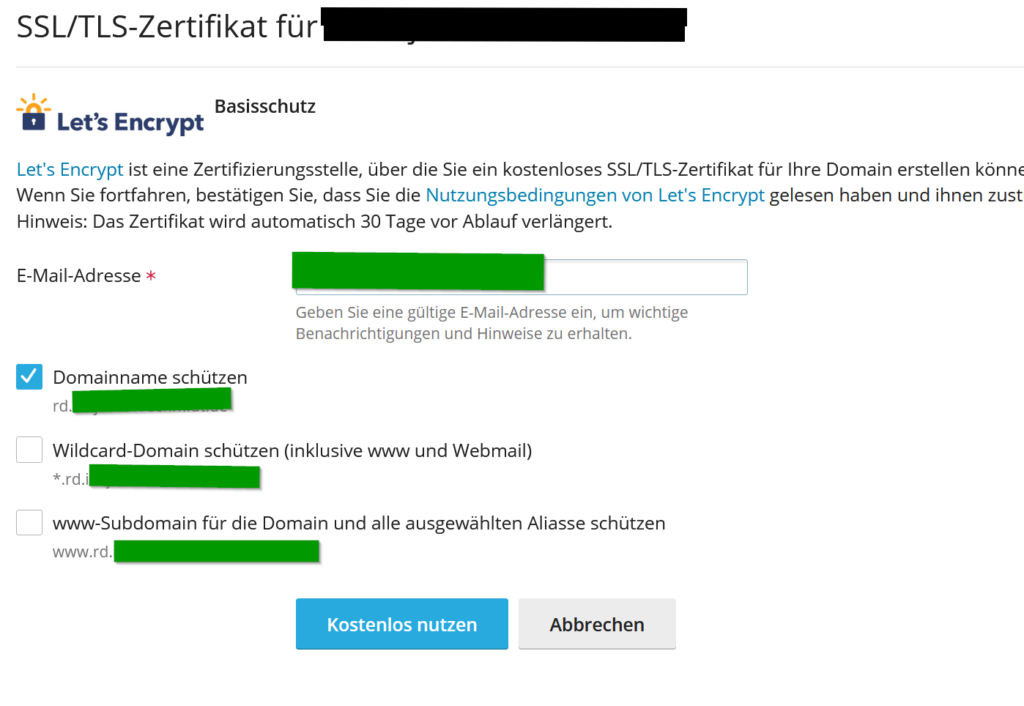
Also we will directly activy Let’s Encrypt so that our RustDesk will be protected using https.
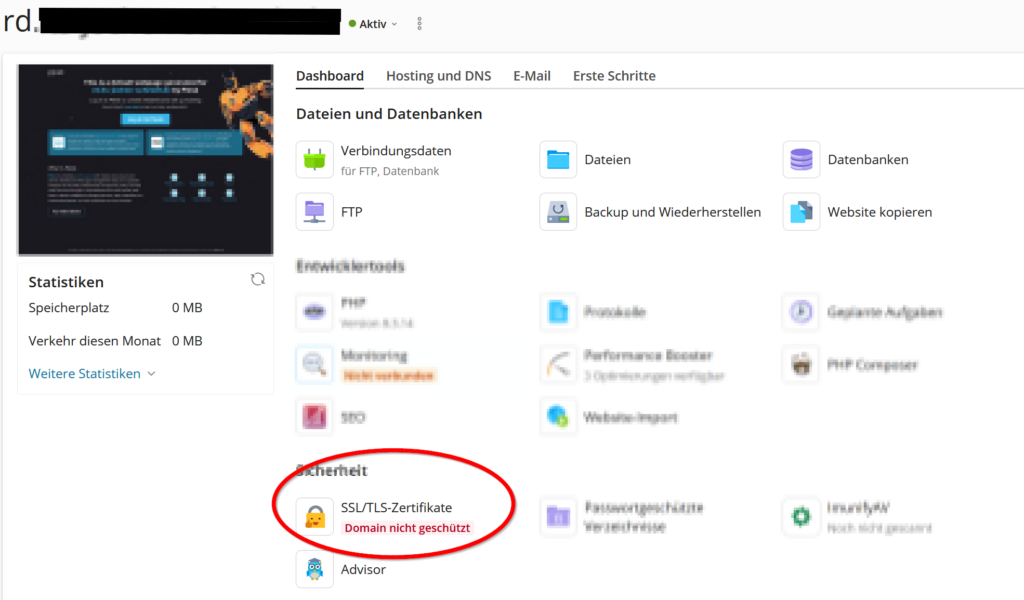
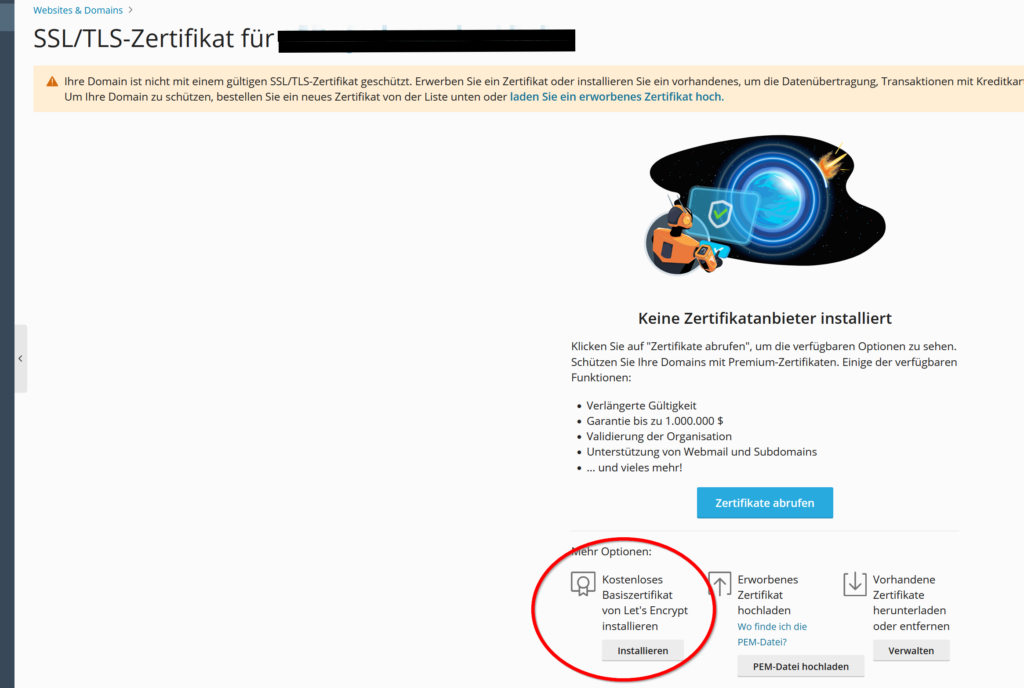
It is free and Plesk will automatically renew it.
Activate Docker
RustDesk describes how to set up Docker / links to it.
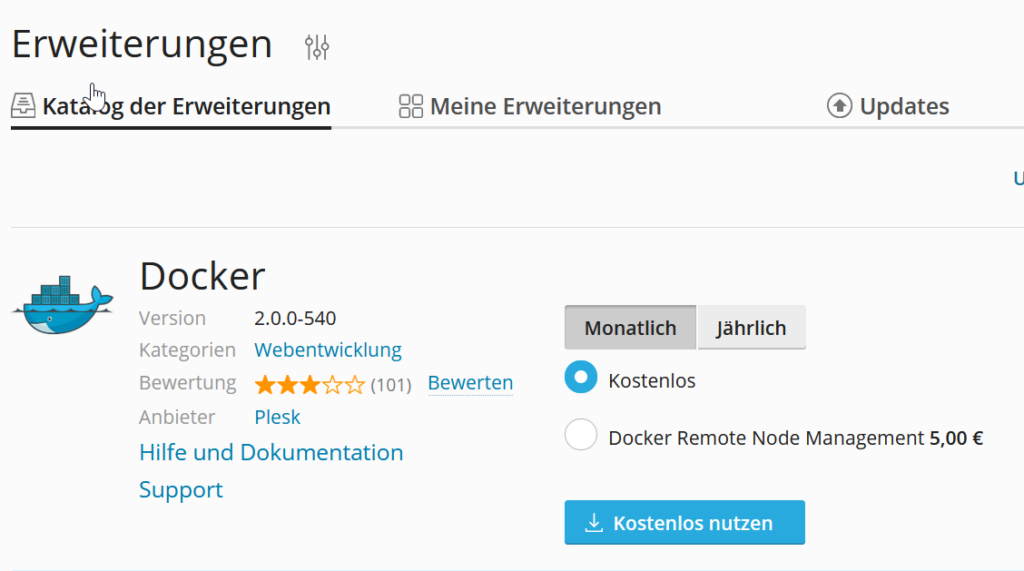
Those manually steps can be easily done by using the Docker Extension which is free. (There are Options for Remote Node Management that need to be paid for but for simple use cases it is enough).
So let’s go to Extensions and search for Docker. The offical Plesk Docker Extension should show up.
Get RustDesk Docker Image
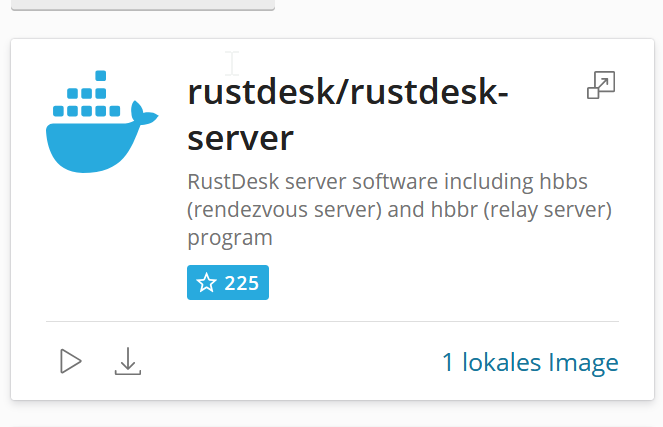
In the new Docker Area we can now navigate to Images and Search for „rustdesk“

We require the rustdesk/rustdesk-server image. If you click on it
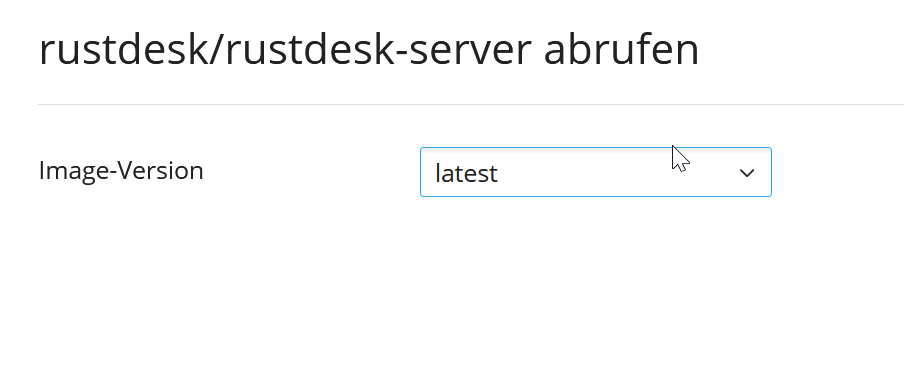
you are now able to download the latest version.
Use Docker-Compose directly
Plesk currently cannot use Docker Compose.
It will be available in the future (see https://talk.plesk.com/threads/how-to-use-docker-compose.373539/) but is not yet available.
So we will need to work on the Console.
mkdir /opt/rustdesk

cd /opt/rustdesk
download it using curl:
curl https://sjoker.net/data/rustdesk/docker-compose.yml > docker-compose.ymlor paste it using vi:
vi docker-compose.ymlContent of docker-compose:
networks:
  rustdesk-net:
    external: false
services:
  hbbs:
    container_name: hbbs
    image: rustdesk/rustdesk-server:latest
    ports:
      - 21115:21115
      - 21116:21116
      - 21116:21116/udp
      - 21118:21118
    environment:
      - ALWAYS_USE_RELAY=Y
    command: hbbs -r rd.changemetoowndomain.de -k _
    volumes:
      - ./hbbs:/root
    networks:
      - rustdesk-net
    depends_on:
      - hbbr
    restart: unless-stopped

  hbbr:
    container_name: hbbr
    image: rustdesk/rustdesk-server:latest
    ports:
       - 21117:21117
       - 21119:21119
    command: hbbr -k _
    volumes:
      - ./hbbr:/root
    networks:
      - rustdesk-net
    restart: unless-stopped
This will setup required services and store the data besides our docker-compose.yml.
You will have to change rd.changemetoowndomain.de to your own domain
Also using „-k _“ it will not publicly be accessible without the public-key for the Relay-Server. Also we do not want a direkt Client2Client connection, everything should go over out https secured Relay (ALWAYS_USE_RELAY=Y).
Other HowTo’s expose the ports directly on your server (opening it in the firewall like in ufw for Ubuntu). Here we setup a private network so that the services may communicate together but it will not be externally availble.
It should now start using
docker compose up -dWe are also now able to see it running and access logs… in Plesk.

after starting keyfiles have been created for hbbr and hbbs. They have been generated seperately but should be the same. So we will correct this.
docker compose down

cd hbbr

rm id_ed25519
rm id_ed25519.pub
cp ../hbbs/id_ed25519 .
cp ../hbbs/id_ed25519.pub .

cd ..
docker compose up -d
You may also now save your Key in a Password-Manager like KeePass or what you are using. (It will later be required on the Client-Side)
cat /opt/rustdesk/hbbs/id_ed25519.pubMake it available to the „World“
The Docker Plesk Extensions added a new option to add Proxy-Rules to our Subdomain so that it will be running behing our https Proxy.
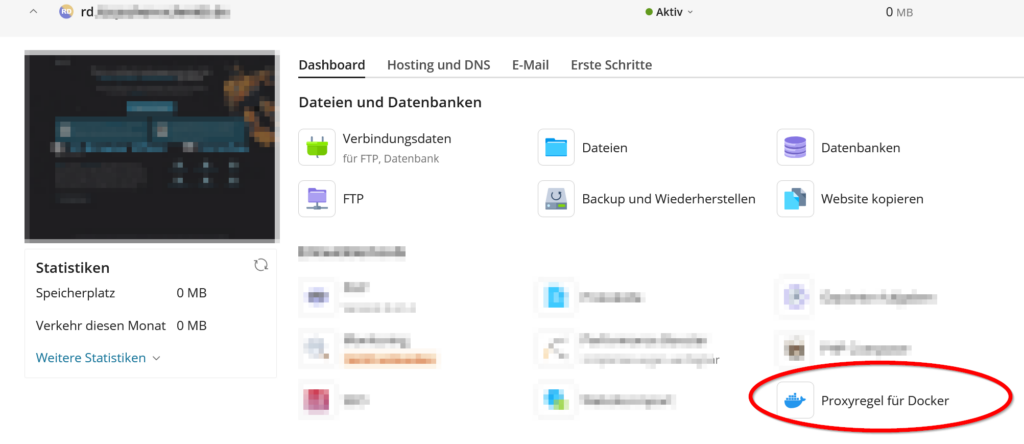
Click on it on your Subdomain and we will be able to add a new Rule:
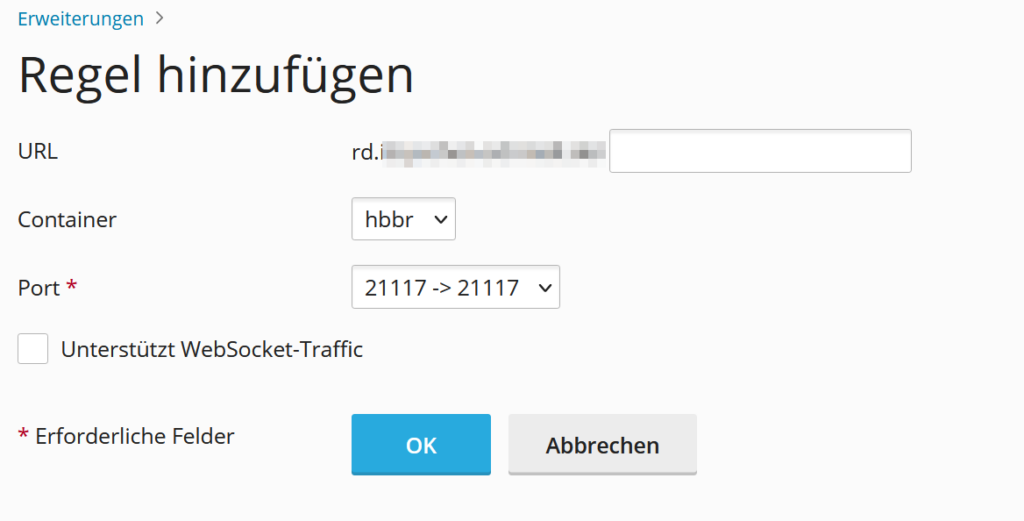
The only required Port is 21117 from the hbbr Container.
Configure Client
Now after downloading the Client from the offical RustDesk Page we can start it.
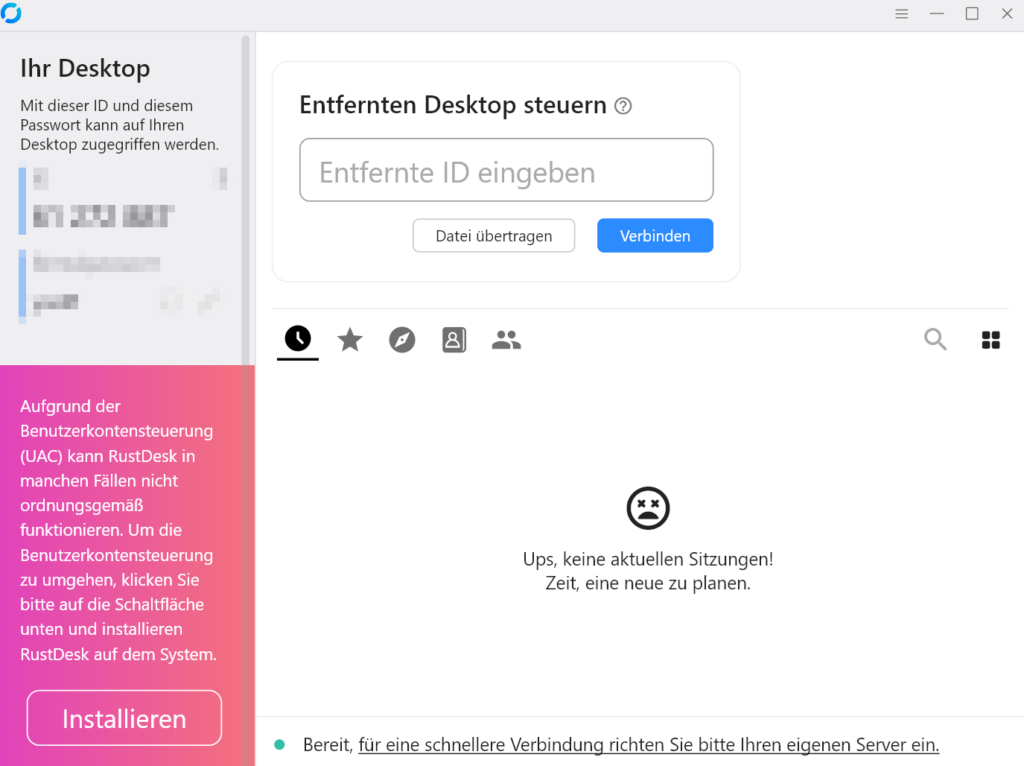
It will also inform you to use your own Server. to do this open the Menu and go to the Network Settings.
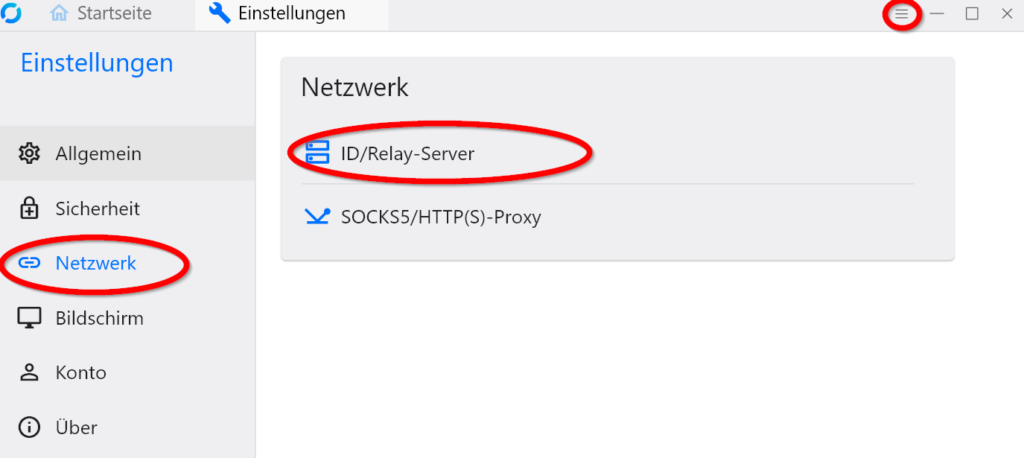
There we will configure our ID/Relay-Server.
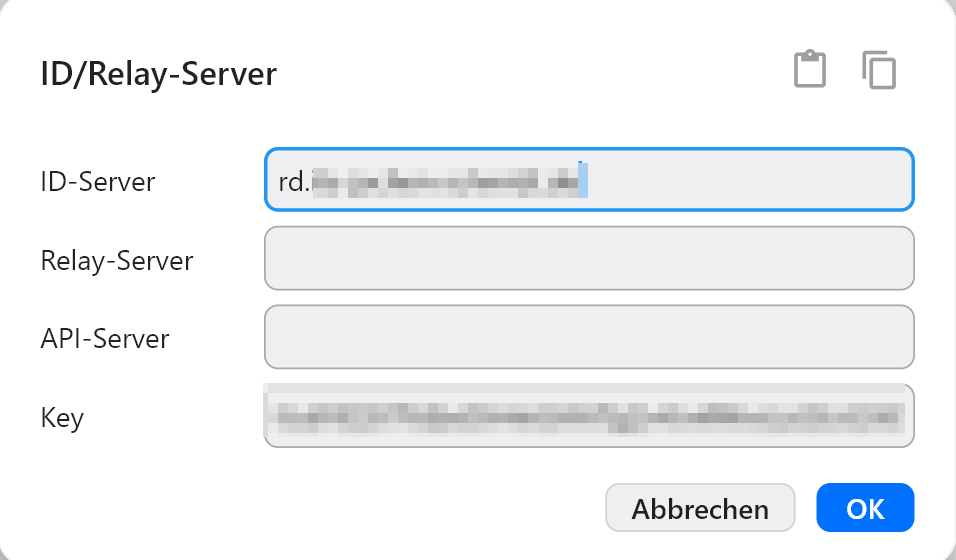
It is enough to set the ID-Server to our Subdomain. (Relay-Server and API-Server will use the value of ID-Server if left blank)
Also we will need the public Key for the „Key“-Field. (which you should only give to people who should have access to your Server).
To get your public-Key you can access it from the Console using:
cat /opt/rustdesk/hbbs/id_ed25519.pubThe output is your Key. After inputting in the Key Field and pressing OK you should be good to go.